The Referring module allows you to perform a variety of modifications with referring doctors, referring facilities and accounts.
Managing referring doctors
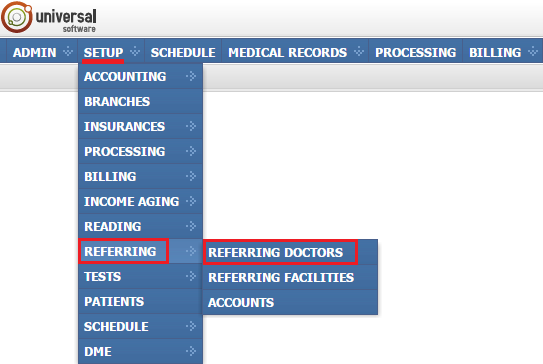
In order to open the Referring doctors module, sign into your account on your EMSOW site, click Add new in the upper navigation bar, click REFERRING in the drop-down menu and then click REFERRING DOCTORS in the next drop-down menu.
On the top toolbar such buttons as Add new, Edit selected, Remove selected, Merge selected, Copy to clipboard and Export are available:
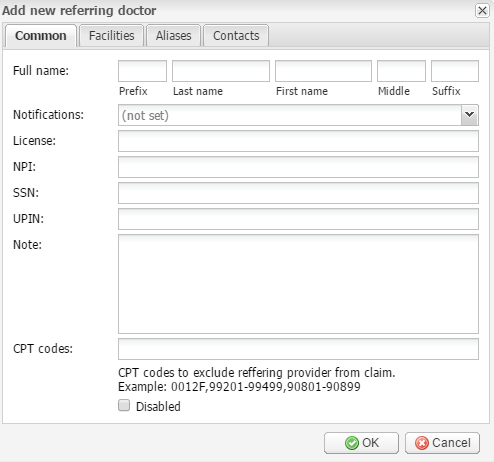
Add new – click this button to add a new referring doctor. In a new window, fill out fields with the doctor’s information. On the Common tab enter the doctor’s full name, license, NPI (it must be a numerical value like 0123456789), SSN, UPIN.
To notify the doctor about new study interpretation reports, select the notification type in the Notifications field (Web, E-mail, Fax, Mail or no notification). Note that the appropriate contact information should be entered on the Contacts tab (such as the doctor’s email address).
In the CPT codes field, you can enter CPT codes for which this referring provider should be excluded from claims.
You can add a note if necessary in the Note field as well as disable the doctor’s record by selecting the Disabled checkbox.
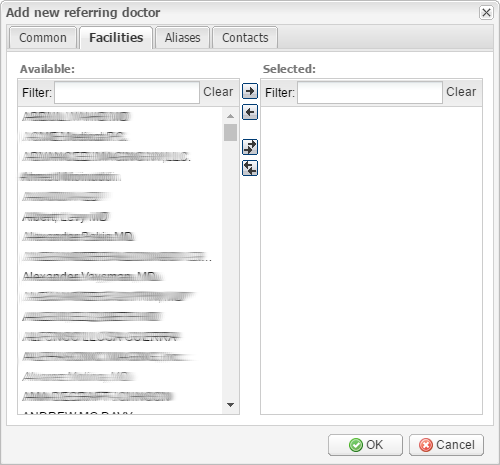
In the Facilities section select the doctor’s facilities. You can add and remove them using the buttons with arrows.
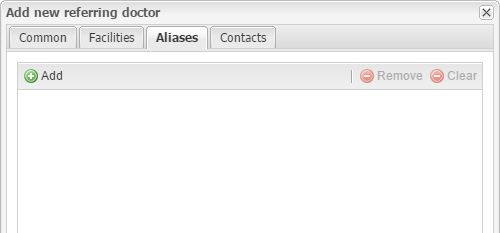
The Aliases section allows you to add aliases which provide a way to recognize alternative spellings of the doctor’s name. It can be useful when the doctor’s name is spelled differently on your diagnostic equipment. For example, if the name of John Doe is spelled as “JOHNDOEMD” on the equipment, you can add this spelling as an alias.
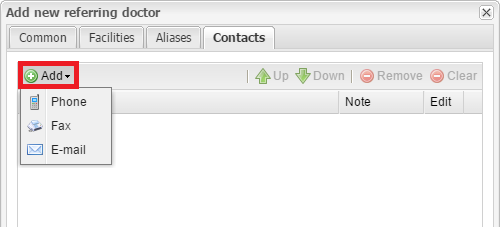
Add the doctor’s phone, fax number or E-mail address on the Contacts section by clicking the Add button.
The Referring Doctors module displays a list of referring doctors arranged in several columns: ID, Prefix, Last, First and Middle names, Suffix, Notifications, License, NPI, SSN, UPIN, Note, Facilities, Aliases, Contacts and Actions.
Edit selected – this button opens a referring doctor edit window, which is identical to the Add new referring doctor window described above. After editing a doctor’s record, click OK to save the modifications or Cancel to quit without saving.
 For editing, there is as well another button in the rightmost column Actions. It allows you
to edit the required doctor account without selecting it in the table.
 For removing doctors, there is as well another button in the rightmost column Actions. It
allows you to remove the required doctor account without selecting it in the table. Click this button and
then click OK.
Managing referring facilities
EMSOW supports multiple orders from one referring facility if they are for different ordering facilities.
To open the referring facilities module, follow the path SETUP → REFERRING → REFERRING FACILITIES:
On the top toolbar such buttons as Add new, Edit selected, Remove selected, Merge selected, Copy to clipboard and Export are available:
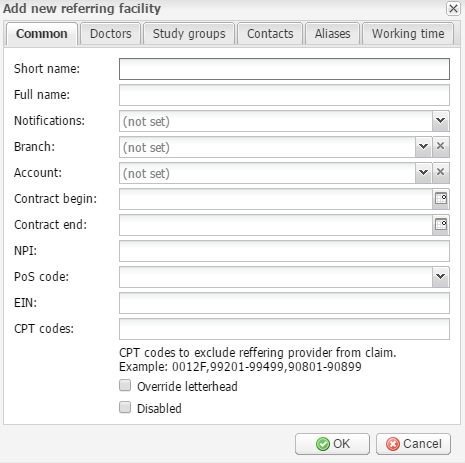
Add new – click this button to add a new referring facility. In a new window, fill out fields with the facility’s information. On the Common tab you need to enter its Short and Full names, the appropriate dates in the Contract begin and Contract end fields, NPI (it must be a numerical value like 0123456789) and EIN.
To notify the doctors of the facility about new study interpretation reports, select the notification type in the Notifications field (Web, E-mail, Fax, Mail or no notification). Note that the appropriate contact information should be entered on the Contacts tab (such as the facility’s email address).
In the CPT codes field, you can enter CPT codes for which this referring provider should be excluded from claims.
This module allows you to e-mail reports to referring facilities. The report sending method can be set in the Notifications field.
You can select the Override letterhead checkbox to override default letterheads.
You can disable the facility’s record by selecting the Disabled checkbox.
On the Report options tab, you can set additional text to be printed in the footer of image interpretation reports that are sent to this facility.
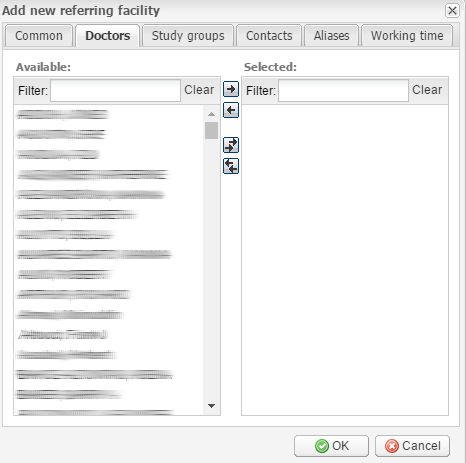
On the Doctors tab select the doctors who work in this facility. You can add and remove them using the buttons with arrows.
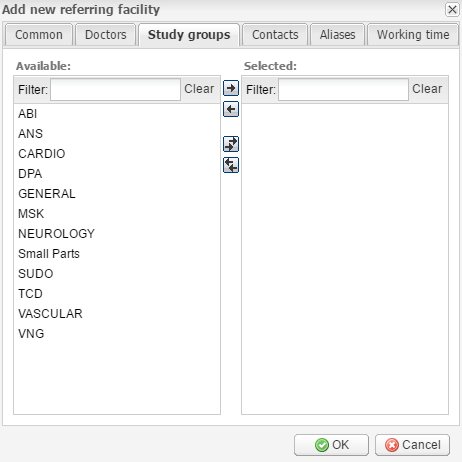
On the Study groups tab you can set groups of studies for which the facility refers patients. You can add and remove them using the buttons with arrows.
On the Allowed insurances tab, you can assign allowed insurances to every referring facility. This will let you limit the choice of insurances that are available when you are creating a new patient case in Schedule or Processing: the drop-down list will display only the insurances that are used by the facility. You can add and remove them using the buttons with arrows.
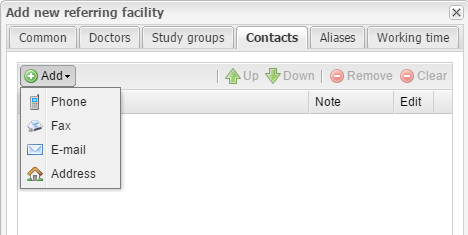
On the Contacts tab you can click the Add button to select various contacts for the facility in the drop-down menu, such as phone and fax numbers, e-mail and street address. Use the Up and Down buttons to change the priority of the contact (for example, if the facility has two e-mails, you can set which of them will be primary). To delete the selected contact, click the Remove button. To delete all contacts, click the Clear button.
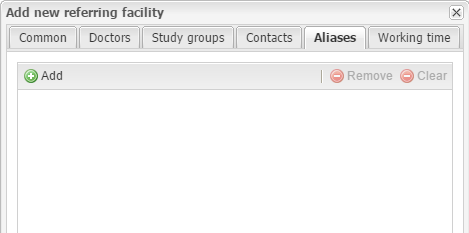
The Aliases tab allows you to add alternative names for the facility. This provides a way to recognize different spellings of the facility’s name.
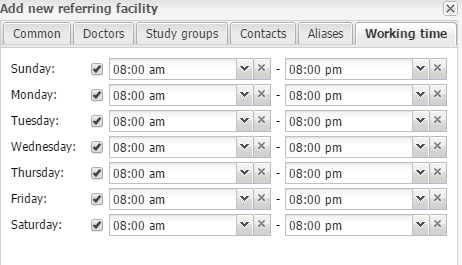
You can set the facility’s work hours on the Working time tab.
Click OK to save the new facility or Cancel to quit without saving.
Edit selected – this button opens a referring facility edit window, which is identical to the Add new referring facility window described above. After editing the required facility, click OK to save the changes or Cancel to quit without saving.
 For editing, there is as well another button in the rightmost column Actions. It allows you
to edit the required facility without selecting it in the table.
 For removing accounts, there is as well another button in the rightmost column Actions. It
allows you to remove the required account without selecting it in the table. Click this button and then
click OK.
Managing referring accounts
Follow the path SETUP → REFERRING → ACCOUNTS to open the accounts managing tab:
On the top toolbar such buttons as Add new, Edit selected, Remove selected, Merge selected, Copy to clipboard and Export are available:
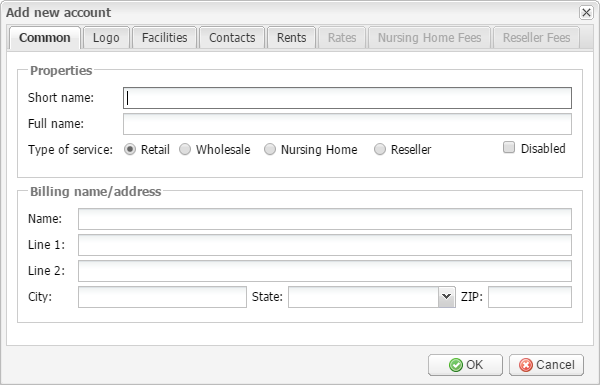
Add new – click this button to add a new referring account. In a new window, fill out fields with information of the new account. On the Common tab, there are such sections as Properties and Billing name/address. The Properties section is required to be filled out; it includes the short and the full name of the account. Select the type of service next to Type of service: Retail, Wholesale, Nursing Home or Reseller. You can disable the account record by selecting the Disabled checkbox. In the Billing name/address section, fill out the following fields: Name, Line 1, Line 2, City, State and ZIP-code.
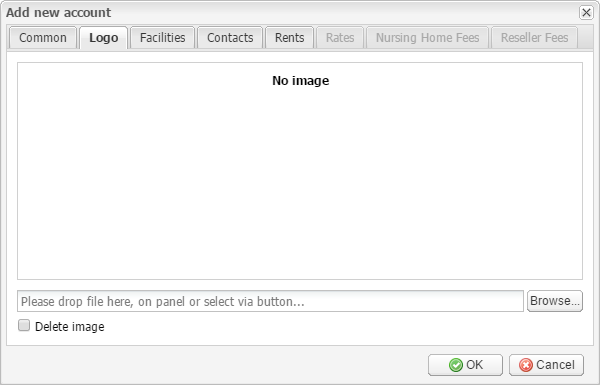
On the Logo tab you can upload a logo for the referring account:
To upload a logo, click the Browse button and select the file with the logo. To remove the logo, click the Delete image checkbox.
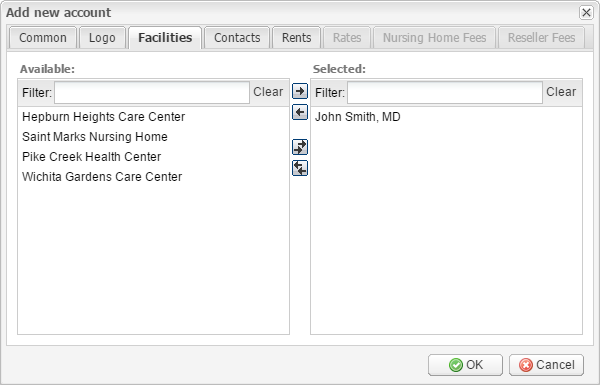
On the Facilities tab, select the required facilities to add them to the account. You can add and remove them using the buttons with arrows.
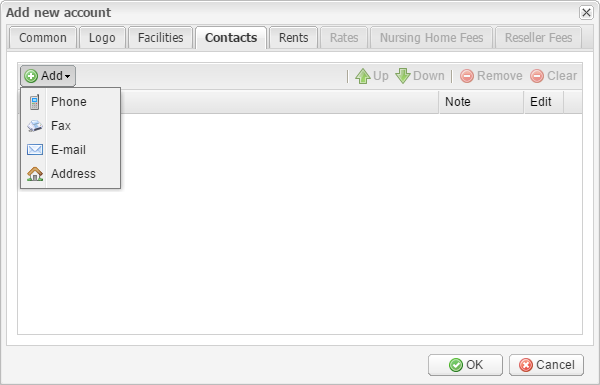
On the Contacts tab you can click the Add button to select various contacts for the account in the drop-down menu, such as phone and fax numbers, e-mail and street address. Use the Up and Down buttons to change the priority of the contact (for example, if the account has two e-mails, you can set which of them will be primary). To delete the selected contact, click the Remove button. To delete all contacts, click the Clear button.
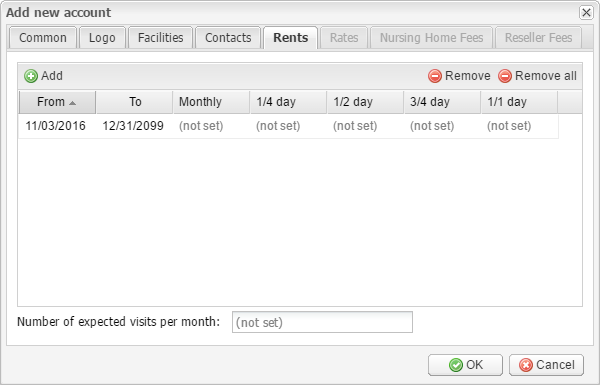
If you are adding a retail referring account, the Rents tab is available for you to fill out where you can set the amount of rent to be paid depending on the time a technologist spends in the facility (payment can be made on a monthly basis or per hour). Click the Add button, set the required date range, and then set the required time options: Monthly, 1/4 day – 2 hours, 1/2 day – 4 hours, 3/4 day – 6 hours or, 1/1 day – 8 hours. Set the number of expected visits per month in the field below.
If you are adding a wholesale referring account, the Rates tab is available for you to fill out. Click the Add button and set the required date range in the From and To columns. In the Hourly (US) and Hourly (SE) columns, enter hourly rates to be paid for ultrasound and stress echocardiography respectively. Only these two categories are available in the current version of the system, and at least one category has to be set.
If you are adding a nursing home referring account, the Nursing Home Fees tab is available with the following fields to be filled out: manager fees (per visit), aid fees (per visit) and net profit sharing (in %).
If you are adding a reseller referring account, the Reseller Fees tab is available with the Partner fees field to be filled out.
Click OK to save the new account or Cancel to quit without saving.
Edit selected – this button opens an account edit window, which is identical to the Add new account window described above. After editing an account record, click OK to save the changes or Cancel to quit without saving.
 For editing, there is as well another button in the rightmost column Actions. It allows you
to edit the required account without selecting it in the table.
 For removing accounts, there is as well another button in the rightmost column Actions. It
allows you to remove the required account without selecting it in the table. Click this button and then
click OK.
