You can receive orders from your clients’ EMRs through the HL7 protocol. Incoming requests are displayed in the HL7 Requests module, and EMSOW processes them automatically, which results in new service records being created in the Dispatch module where you can dispatch them to a technologist. To see the incoming requests, click HL7 Requests on the main menu. If there are any pending requests, the menu button will be highlighted in the light red color:

The pending requests represent HL7 messages that EMSOW were not able to process automatically, e.g. if a message references an unknown referring facility or study description. If you see a pending request in the module, try processing it manually (see “How to process an HL7 request” below).
User interface
The HL7 Requests module consists of two panes: Options (left) and Results (right).
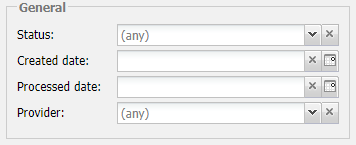
The Options pane is a search filter that allows you to find specific requests. To perform a search, you have the following fields at your disposal:
| Status: the current request status. The statuses are explained below. Created date: the date range of when a request was received. Processed date: the date range of when a request was processed (automatically or manually). Provider: the EMR where a request came from. | |
| A/N: the accession number of the study created based on a processed request. |
After you have specified a search query, click Search to perform the search. A click on Clear will reset the search fields to their default values.
The found requests will be displayed on the Results pane. If you didn’t perform a search, the Results pane will show all requests.
The Results pane displays the received requests in a grid with the following columns:
- ID: the unique identifier of a request in EMSOW.
- Provider: the EMR where a request came from.
- Created: the date when a request was received.
- Processed at: the date when a request was processed.
- Processed by: the user who processed a request.
- Action: what should be done as the result of request processing.
The Action can be one of three types:
- Add: a request for a new study.
- Modify: a request of this type modifies a specific request that was received previously.
- Cancel: a request of this type cancels a specific request that was received previously.
- Status: the current state of a request:
- Pending: the request is waiting to be processed.
- Processed: the request has been successfully processed.
- Failure: the request processing ended with failure.
- Cancelled: the request has been cancelled by a follow-up request.
- Referring facility: the referring facility name, as specified in an HL7 message. Note that requests are not processed automatically if this name does not match your records in the Referring facilities module. However, you can copy this name and create an alias in the corresponding referring facility record to enable automatic processing.
- Referring doctor: the referring doctor name, as specified in an HL7 message. Note that referring doctor records are created automatically when EMSOW processes incoming requests.
- Patient: a patient name.
- Studies: the name and CPT codes of the study that was ordered. Note that this name or codes must match your records in the Studies module. You can use aliases to enable automatic processing.
- Service ID: a link that opens the service in EMSOW that was created as the result of request processing. Click it to open the service in the Processing module.
- Actions: this column contains several buttons which you can use to
work with a request:
-
 remove the request
-
 : process the request
-
 : mark the request as pending
-
 : view the HL7 message
-
 : open the created study in the Dispatch module
-
Just above the requests, there is a toolbar:
- Process: process the selected request. After clicking the button, EMSOW will open a service creation wizard to import the data from the request. The request processing is covered later in this instruction (see “How to process an HL7 request”).
- Mark as pending: change the status of a processed request back to pending. To do this, you need to remove the service created from the request first.
- Parse: after clicking this button, EMSOW will analyze and break down the HL7 message into meaningful parts to be populated in the columns. This happens automatically upon receiving an HL7 request. Note: you cannot parse requests with already created services.
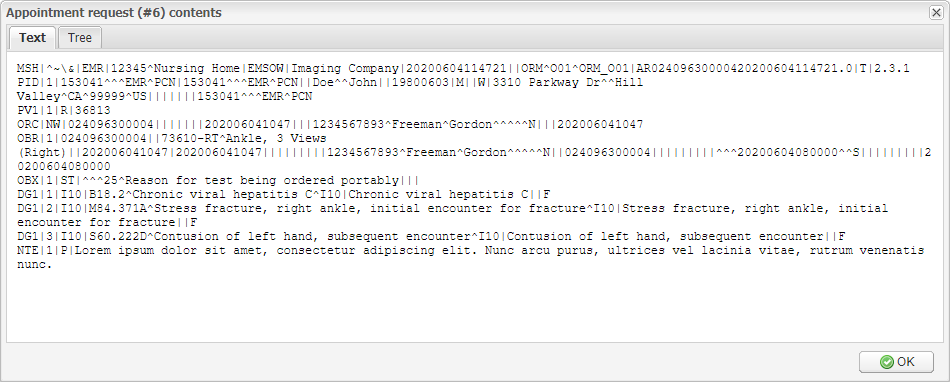
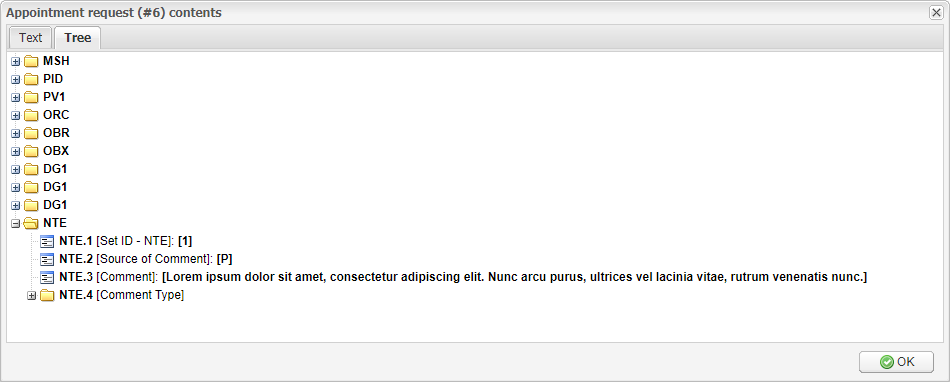
- View: display the contents of an HL7 request in a
pop-up window with two tabs: Text and Tree.
Text tab allows you to see a raw HL7 message:
The Tree tab offers you a structured view of the data in the HL7 message with short annotations for HL7 message fields:
- Open in Dispatch: if the selected request has been processed and a service has been created, use this button to jump to the service in the Dispatch module where you can dispatch a technologist to perform the requested exam.
- Remove selected: remove the selected request.
- Export: export the list of requests as an Excel, CSV, PDF, or HTML document.
How to process an HL7 request
In order to process a pending HL7 request, follow these steps:
- Select the necessary request.
- Click Process on the toolbar or
 in the Actions
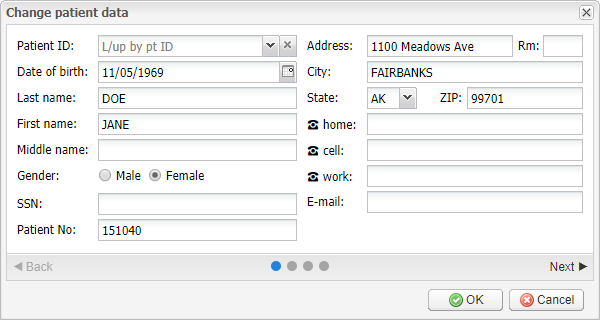
- In the window that opens, change the necessary patient data: Then click Next.
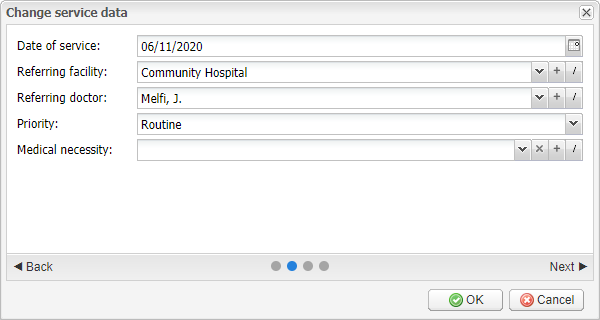
- Change the required service data: Click Next.
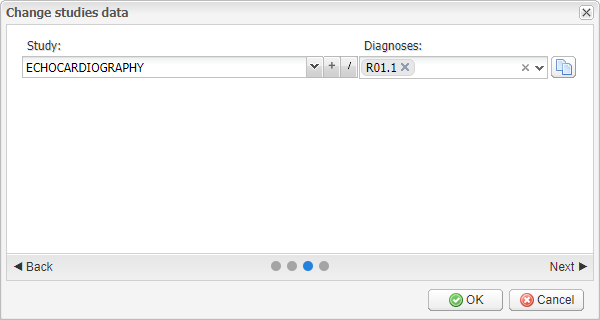
- Change the ordered studies and diagnoses, if necessary:
If the required study is missing from the drop-down menu in the Study field, you can set
up a new study by clicking
 or modify an existing study by clicking
 . If you have more than one study, it is possible to copy the already entered diagnoses to all
studies without diagnoses by clicking
 . Click Next to proceed.
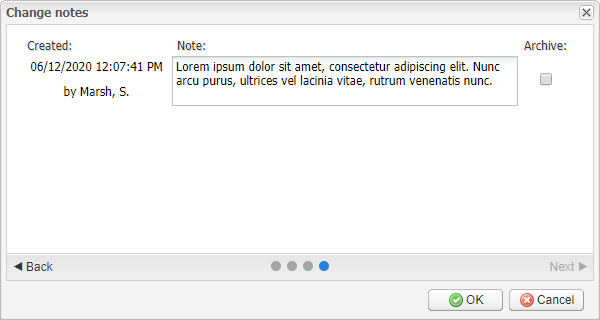
- Edit the service note, if needed: Check Archive if you need to make the note archival. Archival notes are displayed collapsed by default. To view the note, you will need to click the plus sign (+).
- Click OK to finish.
As a result, EMSOW will create a service based on the data imported from the HL7 request and the data provided by you on steps 3–6. A link to the service will appear in the Service ID column. By clicking this link, you will open the order with the created service in the Processing module.
Having processed the request, you can also dispatch a technologist to perform the requested exam by
using the Open in Dispatch button on the toolbar or
 in the Actions column.
